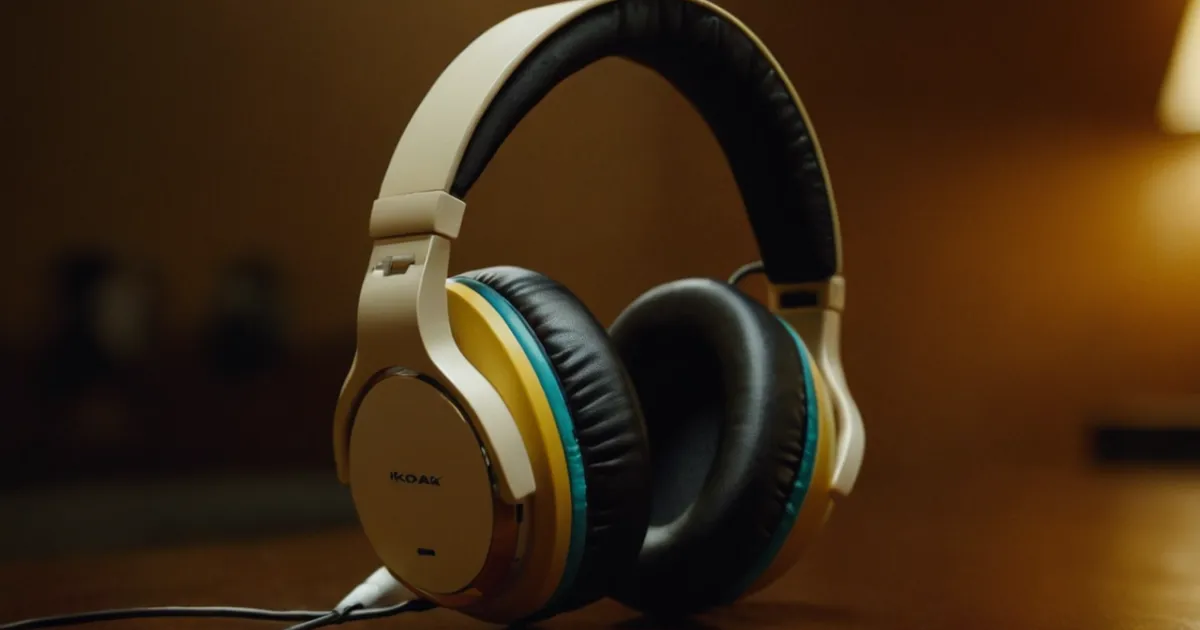
So you’ve got yourself a pair of travel headphones, huh? Good choice! Whether you’re planning to jam out on a long flight or enjoy some tunes on a road trip, these nifty gadgets are essential for any music lover on the go.
But hey, here’s the thing – just like any other device, your travel headphones need some TLC to keep them in tip-top shape. In this article, we’ll dive into the ins and outs of maintaining and cleaning your travel headphones. So, buckle up, and let’s get started!
Now, you might be wondering, why is proper maintenance so important. Well, my friend, believe it or not, your headphones can accumulate dirt, sweat, and even earwax over time. Yuck, right?
Not only can this impact the sound quality but neglecting to clean them can also lead to a shorter lifespan. Don’t worry, though – we’ve got your back! In the following paragraphs, we’ll walk you through the steps to ensure your travel headphones stay fresh, clean, and ready for your next adventure.
So, how do you go about maintaining and cleaning your travel headphones? We’ve got you covered. From the ear cups to the cables, we’ll break down the process into easy-to-follow steps.
How Do I Maintain and Clean My Travel Headphones?
Keep Your Travel Headphones Pristine with These Cleaning and Maintenance Tips
- Start by removing any detachable parts and gently wipe them with a soft cloth.
- Using a mixture of mild soap and warm water, dampen a cloth and clean the headphones’ exterior.
- Avoid using excessive moisture and ensure the headphones don’t get wet.
- For ear cushions, use a cloth dampened with a mild cleaning solution to wipe away dirt and sweat.
- Let all components air dry completely before reassembling.
Maintaining and cleaning your travel headphones regularly will not only enhance their longevity but also ensure a hygienic and enjoyable listening experience.
1. Cleaning the Earpads and Headband
The first step in maintaining your travel headphones is to clean the earpads and headbands. Over time, dirt, oils, and sweat can accumulate on these parts, impacting both the comfort and sound quality.
To clean them, start by removing the earpads if they are detachable. If not, use a soft cloth dampened with a mild cleaning solution, such as a mixture of warm water and gentle soap. Gently wipe the surface of the earpads and headband, taking care not to wet the internal components.
If your earpads are detachable, you can soak them in warm soapy water for several minutes to remove stubborn dirt. Afterward, rinse them thoroughly, squeeze out any excess water, and let them air dry completely before reattaching them to your headphones. Be sure to consult the manufacturer’s instructions for specific cleaning guidelines, as some headphones may require a different approach.
To keep your earpads and headbands in good condition, it’s also a good idea to wipe them down regularly with a clean, dry cloth to remove any surface dust or debris. Avoid using harsh chemicals or abrasive materials that could damage the materials or finishes.
2. Cleaning the Headphone Cables
Another important aspect of headphone maintenance is cleaning the cables. Over time, cables can become tangled, dirty, or frayed, affecting both the aesthetics and functionality of your headphones. To clean them, start by disconnecting the cables from your device and the headphones themselves. This will make the cleaning process easier and safer.
If the cables are detachable, you can wash them gently with warm soapy water, ensuring to remove any dirt or debris. Rinse them thoroughly and let them air dry completely. If your cables are not detachable, you can still clean them by using a soft cloth dampened with a mild cleaning solution. Gently wipe the surface of the cables, taking care not to wet the connectors or any electrical components. Again, refer to the manufacturer’s instructions for specific cleaning guidelines.
Once the cables are clean and dry, make sure to untangle them and store them properly to prevent future damage. Avoid wrapping the cables tightly or bending them at sharp angles, as this can lead to fraying or breakage over time. Consider using a cable organizer or a velcro strap to keep them neatly organized when not in use.
3. Storing Your Travel Headphones
Proper storage is key to maintaining the longevity of your travel headphones. When not in use, it’s essential to store them in a clean and dry environment, away from direct sunlight, extreme temperatures, and excessive humidity. This will help prevent damage to the materials, electrical components, and overall performance of your headphones.
If your headphones come with a carrying case, use it to store them. A carrying case provides added protection against dust, scratches, and accidental impacts. Make sure to wrap the cables neatly and place them inside the case before closing it. If your headphones do not come with a carrying case, consider investing in a padded storage pouch or a headphone stand to keep them safe and organized.
In addition to proper storage, it’s important to handle your travel headphones with care. Avoid dropping them, twisting them forcefully, or exposing them to any liquids. Treat them gently, and they will reward you with great sound quality and durability for years to come.
Additional Tips for Maintaining Your Travel Headphones
Now that you know the essential steps to maintain and clean your travel headphones, here are a few additional tips to ensure their longevity:
1. Avoid Sharing Your Headphones
Sharing headphones may expose them to bacteria, sweat, and oils from other people’s ears, potentially causing hygiene and performance issues. If you must share them, consider using disposable headphone covers or wipes to maintain cleanliness.
2. Use a Protective Carrying Case
Investing in a protective carrying case not only provides a safe storage solution but also protects your headphones from accidental damage while traveling. Look for a case specifically designed for your headphone model for the best fit and protection.
3. Check for Loose Connections
Regularly inspect your headphone connections, such as the plug and cable junction, for any signs of looseness or damage. Loose connections can affect the audio quality and may require professional repair or replacement.
4. Remove Excess Earwax
If your headphones have earbuds, clean them regularly to remove any earwax buildup. Use a soft brush or a damp cloth to gently remove the wax, taking care not to push it further into the earbuds.
5. Follow the Manufacturer’s Guidelines
Always refer to the manufacturer’s instructions for specific cleaning and maintenance guidelines for your travel headphones. They know their products best and can provide valuable insights on how to properly care for your headphones.
Choosing the Right Cleaning Products
When it comes to choosing cleaning products for your travel headphones, it’s important to opt for gentle ones that won’t damage the delicate materials or electrical components. Here are a few safe and effective options:
1. Isopropyl Alcohol Solution
A mild solution of isopropyl alcohol and water can be used to remove stubborn dirt and oils from the headphones’ surfaces. However, be sure to use it sparingly and avoid getting it on any electronic parts.
2. Soft Microfiber Cloth
A soft, lint-free microfiber cloth is great for wiping down the headphones and cables, removing surface dust and fingerprints without scratching the materials.
3. Q-Tips or Cotton Swabs
Q-tips or cotton swabs can be used to clean hard-to-reach areas or remove dirt from headphone jacks and connectors. Be gentle to avoid any damage.
4. Compressed Air
A can of compressed air can help remove dust and debris from small crevices and vents on your headphones. Use short bursts and keep the can upright to prevent any liquid from escaping.
Remember, always test any cleaning product on a small, inconspicuous area before using it on your entire headphones. If you notice any adverse effects, discontinue use immediately.
In conclusion, maintaining and cleaning your travel headphones is an essential part of owning them. By following the steps mentioned in this guide and implementing the additional tips, you can ensure that your headphones remain in optimal condition, providing you with exceptional sound quality and comfort wherever you go.
Remember to consult the manufacturer’s instructions for specific guidelines and recommendations. Happy listening!
Frequently Asked Questions
Welcome to our frequently asked questions section where we’ll explore the best ways to maintain and clean your travel headphones. Here, we’ll provide you with some helpful tips and tricks to keep your headphones in optimal condition for your travels.
1. Why is it important to clean and maintain my travel headphones?
Maintaining and cleaning your travel headphones is essential for several reasons. Firstly, regular cleaning helps to remove dirt, oil, and sweat that may accumulate on the earpads and headbands over time. This not only improves hygiene but also prevents the buildup of bacteria that can cause odors and potentially lead to ear infections.
In addition, cleaning your headphones helps to prolong their lifespan. Dust, debris, and grime can affect the performance and sound quality of your headphones if left unaddressed. By regularly maintaining and cleaning your headphones, you can ensure they continue to deliver optimal audio performance.
2. How often should I clean my travel headphones?
The frequency of cleaning your travel headphones depends on how frequently you use them and the conditions in which you use them. As a general rule, it is recommended to clean your headphones at least once every few weeks or whenever you notice visible dirt or stains. However, if you use your headphones daily or in environments with high humidity or dust, you may need to clean them more often.
It’s also important to clean your travel headphones after any particularly sweaty or dirty activities, such as a long workout or outdoor adventure. This helps to prevent the accumulation of sweat, dirt, and bacteria, which can degrade the quality and lifespan of your headphones.
3. How should I clean the earpads and headbands of my travel headphones?
To clean the earpads and headband of your travel headphones, start by removing them from the headphones if possible. If they are not detachable, take precautions to avoid getting the electrical components wet. You can then use a soft cloth or sponge soaked in a mild detergent solution to gently wipe the surfaces, removing any dirt or stains.
Avoid using harsh chemicals or excessive moisture, as this can damage the materials or affect the internal electronics. Once cleaned, ensure the earpads and headband are thoroughly dry before reattaching them to your headphones. If your headphones have removable earcup cushions, these can usually be hand washed or replaced when necessary.
4. What is the best way to clean the audio drivers of my travel headphones?
Cleaning the audio drivers of your travel headphones requires more caution, as these are delicate components that can be easily damaged. To clean the audio drivers, use a soft, dry brush or a can of compressed air to gently remove any dust or debris. Be careful not to apply too much pressure or insert anything into the driver openings, as this can cause irreversible damage.
If there are stubborn particles or stains on the audio drivers, it’s best to consult the manufacturer’s instructions or contact customer support for guidance. They can provide specific recommendations for cleaning the audio drivers without compromising their performance.
5. Are there any additional tips for maintaining and prolonging the lifespan of my travel headphones?
Absolutely! Here are a few additional tips to help you maintain and prolong the lifespan of your travel headphones:
– Store your headphones in a protective case when not in use to prevent dust and damage.
– Avoid exposing your headphones to extreme temperatures or moisture, as this can affect their performance.
– Be gentle when handling your headphones and avoid excessive bending or twisting of the cables.
– Regularly check the cables and connectors for any signs of wear or damage and replace them if necessary.
By following these tips and cleaning your travel headphones regularly, you can ensure they continue to provide you with excellent sound quality and durability throughout your travels.
Cleaning your travel headphones is essential for keeping them in good condition and ensuring optimal performance. Start by removing any excess dirt or debris using a soft cloth or brush. Be careful not to wet the headphones excessively when cleaning.
Use a mild cleaning solution or alcohol wipes to wipe down the ear cups and headband. Remember to clean the ear tips or pads as well. Avoid using harsh chemicals or submerging the headphones in water.
To maintain your travel headphones, store them in a protective case when not in use. Avoid exposing them to extreme temperatures or direct sunlight. Keep the cables tangle-free by coiling them properly. Regularly check for any signs of wear and tear, such as frayed cables, loose connections, or worn-out ear pads.
Lastly, follow the manufacturer’s instructions and recommendations for cleaning and maintaining your specific headphones to prolong their lifespan.